
In this article, we guide you through the process of marking units "Out of Service" and returning them to availability.
To mark a unit as "Out of Service," begin by selecting the unit and the dates it will be unavailable, similar to creating a new reservation. Then, in the Selection panel on the right, choose the Out of Service option.
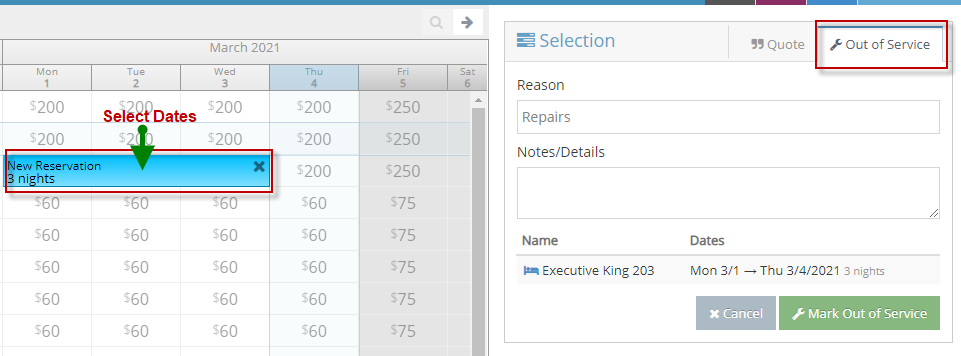
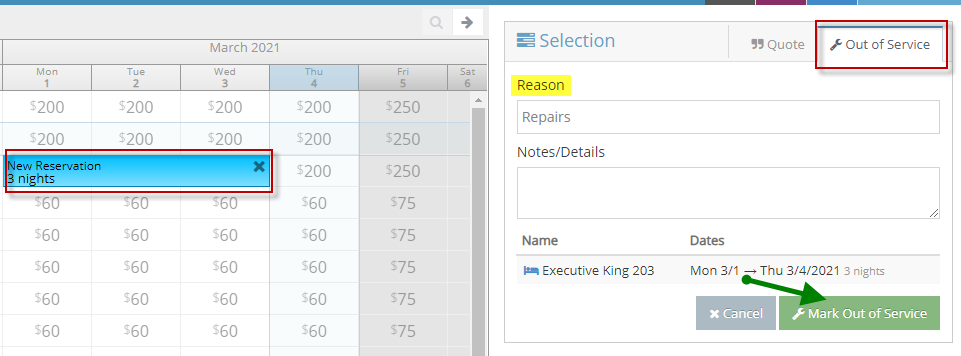
In the Selection panel, the Reason will default to "Repairs," but you can change it by typing a different entry. You can also add Notes/Details, and then click the green Mark Out of Service button to finalize the process.
To mark a group of units as "Out of Service," begin by selecting the dates for each unit you wish to block. Then, choose the Out of Service option for those units.
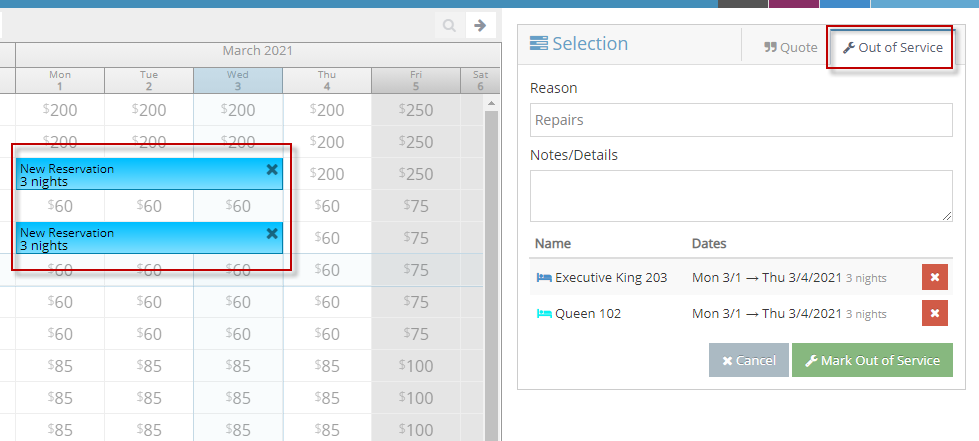
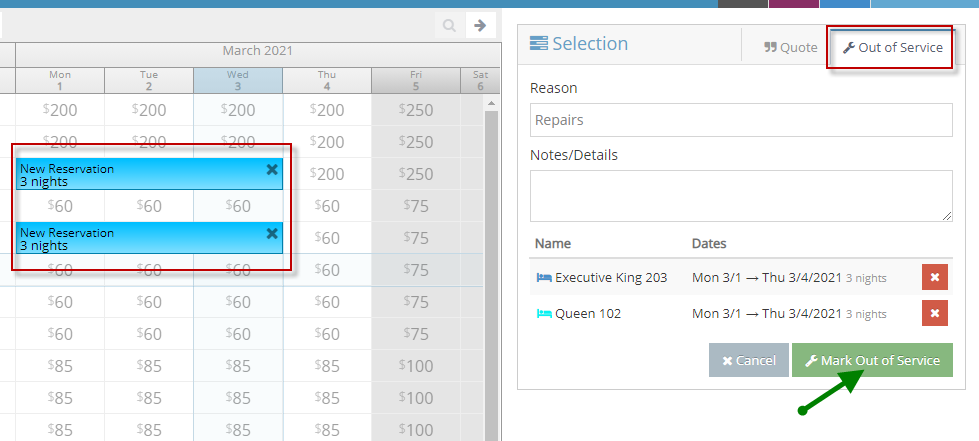
Next, in the Selection panel, review and update the Out of Service details as needed, then click the Mark Out of Service button to finalize.
After marking the unit Out of Service, a Success message will appear, confirming the block.
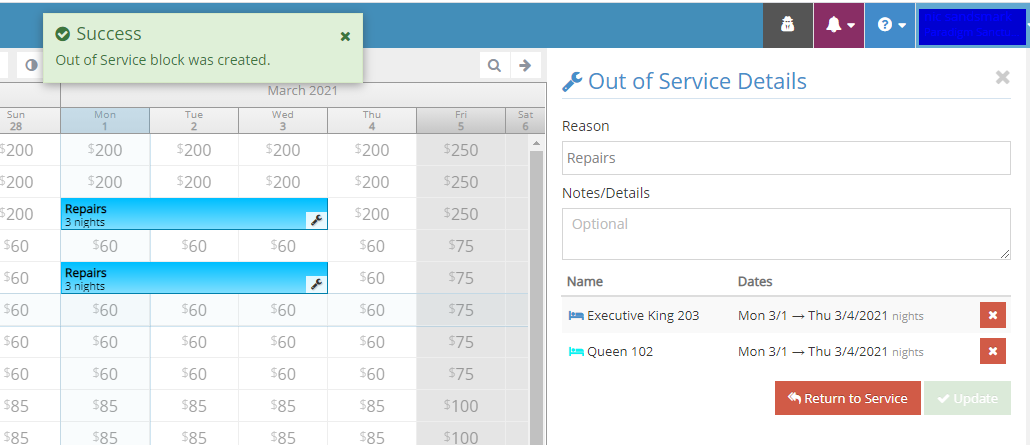
Units marked Out of Service will display with a wrench icon.

To return a unit to service, click on the selected unit(s) and, in the side panel, choose Return to Service or remove an individual unit by selecting the white X in the red box.

The units will be returned to service, and the selection will no longer appear on the Occupancy Map.