As a best practice, it is encouraged to assign each staff member with their own rezStream user profile, rather than everyone sharing one user account.
Creating Users
-
Navigate to the Configuration tab, and select Users

-
From the Manage Users window, Select the Add User button in the upper right-hand corner.

User Permissions
-
Complete user details. Enter a Name, Email Address, and assign Permissions. When user permissions are assigned, they are highlighted in green. Select the Save User button.

-
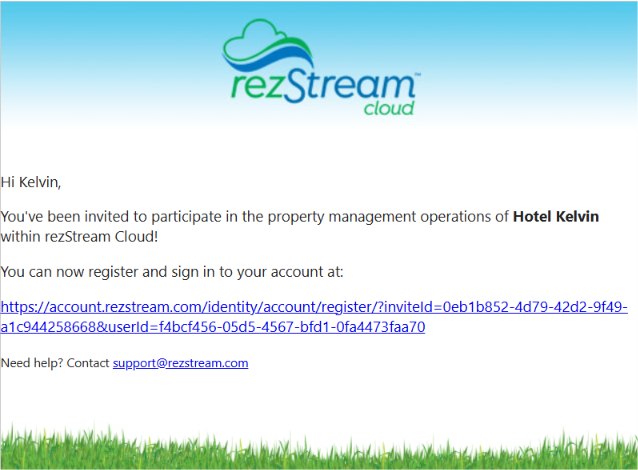
After saving the new user record, an email will be sent inviting him or her to click a hyperlink and complete the setup process.
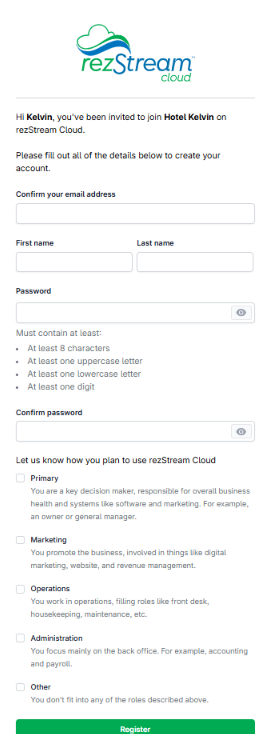
- The new user completes the registration form by confirming their email address, entering their first and last name, creating and confirming a password, and selecting the role(s) that best describe how they will use rezStream Cloud. Once completed, select Register to finish setting up the account.
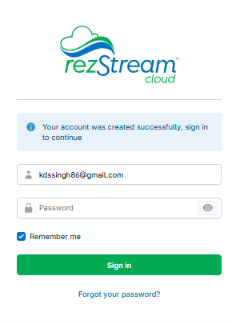
- Once account is created successfully, sign in to your account.
-
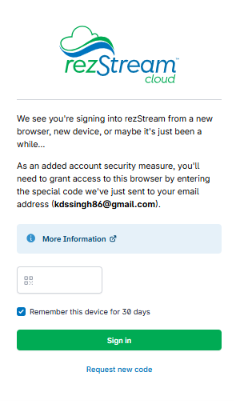
As an added account security measure, you'll need to grant access to this browser by entering the verification code we've just sent to your email address
Removing Users
-
To remove a user, Navigate to the Configuration tab and select Users

-
Select the user you wish to remove, then click Remove from Business

-
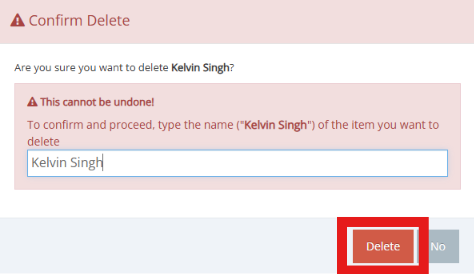
Within the entry field, type the name and then select Delete