
If a cancellation occurs while your property is fully booked, the system will automatically display a Waitlist notification, giving you the opportunity to fill the vacancy quickly and maximize occupancy during peak periods.
Follow the steps below to get started with the Waitlist feature.
- Open the Wait List
- Go to the Occupancy Map and click the Wait List button in the toolbar.
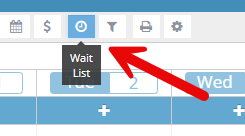

- Go to the Occupancy Map and click the Wait List button in the toolbar.
- Select a Date
- Navigate to the requested arrival date and click the “+” icon to add a guest to the Wait List.
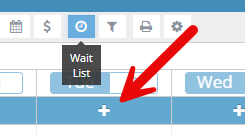
- Navigate to the requested arrival date and click the “+” icon to add a guest to the Wait List.
- Add Guest Details
-
Select Choose Person to add an existing guest or create a new guest profile.
- Enter their arrival and departure dates along with any requests & notes and select Save on the top right.

-
- Confirm the Wait List Entry
- Once saved, the guest will be added to the Wait List and can be accessed later if availability opens up.
- Once saved, the guest will be added to the Wait List and can be accessed later if availability opens up.
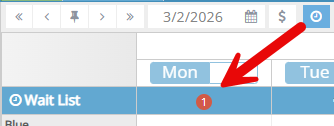
- Manage the Wait List
- Dates with one or more guests on the Wait List will appear on the Occupancy Map with a red circle showing the number of guests waiting for that day.
- If a reservation is canceled and a Wait List entry matches those dates, the system will automatically display the Wait List after the cancellation is complete. Properties will be responsible for following up with wait list guests.
- You can also click on any date in the Wait List row of the Occupancy Map to view who’s on the list, add new guests, or remove someone.

Note:
- You can toggle the Wait List display on or off at any time by clicking the Wait List button in the toolbar (as described in Step 1).
- Turning it off will not remove any guests from the Wait List. It will simply hide the display. Toggle it back on to view it again.