
The Guest Lifetime Value Report is located in the Performance Analysis report section and provides a guest-history summary for every guest or person who has ever stayed or incurred charges at your property. By default, the report is sorted by total spend in descending order, so your biggest spenders appear at the top.
How to Access the Report
- Click the Reports tab in the left navigation menu.
- Expand the Performance Analysis section.
- Select Guest Lifetime Value Report.
- On the right side of the screen, enter the Top # of Guests Included in the report. The default value is 100.

The Data
- Guest Name
- Primary Address
- Primary Email
- Allow Email - indicates whether the guest has opted-in to email marketing
- Primary Phone Number
- All Tags applied to the person
- All Custom Fields applied to the person
- All Custom Dates applied to the person
- Reservation Summary
- Past # Res = total number of past reservations.
- Future # Res = total future reservations currently booked.
- Total # Res = the count of reservations, past, and future.
- # Reserved Nights (Nights Booked) = the total number of nights booked. For example, if the guest booked 4 units in a single reservation, the total reserved night would be 4.
-
- First Stayed = the Arrival Date of the first time they ever stayed.
- Last Stayed = the Arrival Date of the last time they stayed.
- Next Stay = the Arrival Date of their next future reservation.
- Revenue, Charges, and Payments
- The following columns include both future and past reservation invoices and non-reservation (point of sale or POS) invoices.
- All Charges = the total amount of pre-tax/fee charges this person has incurred.
- Total w/Tax & Fees = the total amount of charges including taxes and fees this person has incurred.
- Paid = the total amount of payments you've received from this person.
- Balance = the total balance due.
How to Use the Guest Lifetime Value Data
The report has no built-in filters and always includes all your guests. Export the data to a spreadsheet to filter and sort it for email marketing, direct-mail campaigns, and loyalty programs.
Example of Using Excel to Filter the Data
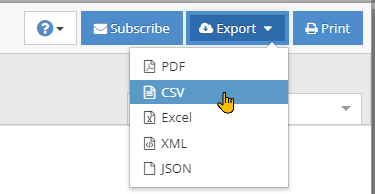
- Start by Exporting your report to either CSV or Excel format:
- Open your exported file in Excel (or another spreadsheet app of choice, but our example will use Excel).
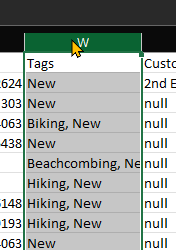
- In Excel, highlight a column, multiple columns or, even all columns you'd like to filter. For the example, we'll choose the Tags column.
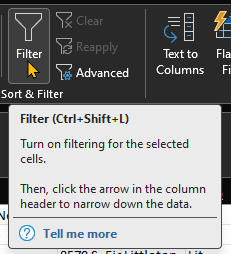
- In the Excel toolbar, choose Data > Filter
- Now, our selected columns are filterable:
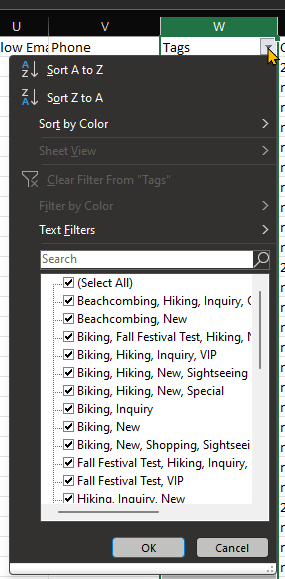
- To find all guests tagged with the Hiking tag (for example, to send targeted marketing material about an upcoming special), type
Hikinginto the filter.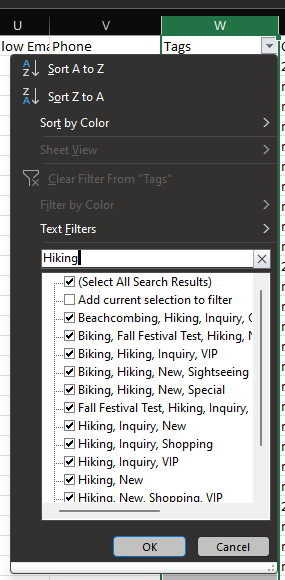
- We could now check or uncheck any filters we want to include, but since we want everyone tagged with Hiking, we'll simply leave everything checked and click OK. With that Excel will filter our list to only those people with the Hiking tag.